John Williams
I am John Williams, a professional content writer about lifestyle and relationships.

If you have recently purchased a new graphics card and want to install it on your computer, then this article is for...
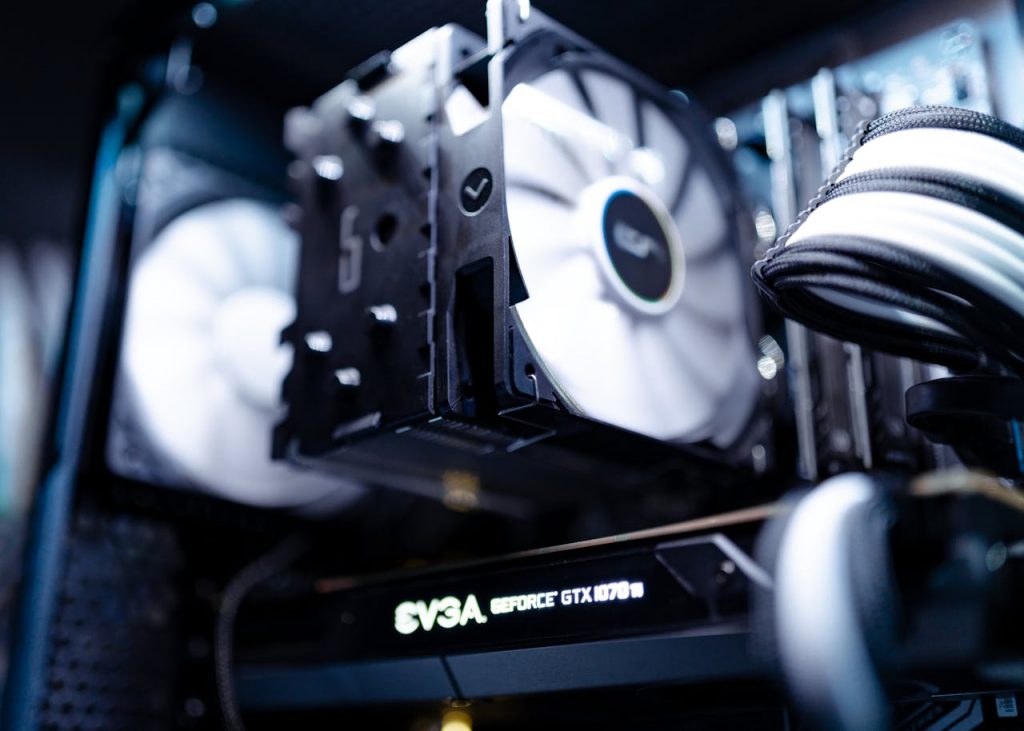
Image Credits: pexels
Reply

If you have recently purchased a new graphics card and want to install it on your computer, then this article is for you!
Most of the time, your graphics card is the first part of your computer to stop working properly. Every year, new graphics cards come out with more power and features than the previous ones. The graphics card speed of the best game PCs is what makes them the best. If you already have a solid-state drive (SSD) instead of a hard disk drive in a PC that is more than two years old.
Most likely, the best way to make your computer run faster is to upgrade your graphics card. It’s not hard to install. But if you’ve never messed around inside a computer before, it might seem scary because you have to open the case and replace parts. Therefore, today with the help of this article we will look at step-by-step methods to set up and update the graphics card driver on your PC without using any Free Driver Updater for Windows 10.
Continue reading this article as it will help you understand the process of setting up the new graphics card or replacing the old one. But first, you need to check a few things before buying or installing on your Windows PC.
Even if it may be a simple procedure to install your graphics card, you should still check to see whether your PC case can accommodate your new GPU, if your PSU is powerful enough, and if the hardware is compatible with the rest of your PC. You should check the specifications below, for your specific card since every GPU and computer configuration is different.
Size Of The Graphics Card:
Before purchasing a GPU, make sure it will fit in your computer case by checking its dimensions. A GPU cannot exceed the length specified by any PC casing. The height, often expressed in PCIe slots, is another crucial factor to think about.
Status Of Your PC:
It is necessary to power down the computer by removing all of its connections and turning off the power switch on the power supply. To install a new graphics card in a computer that already has one, remove all cords from the old card and then plug in the new one.
The CPU of your computer is responsible for the fundamental operations of your machine. It doesn’t matter how powerful your graphics card is; if your CPU is outdated, it will just serve to slow down your computer.
One to three 8-pin power connections may be required from your power supply for newer graphics cards due to their increased power consumption compared to earlier ones. Make sure your power supply unit and graphics card are compatible by checking their specifications. It is simple to install extra power connections on modular power supply systems.
A 500-watt or higher power supply is required by many graphics cards. Look at the computer’s documentation or the power supply’s identification tag for details.
Below are some steps that will help you set up and install your new graphics card.
It should work fine with your graphics card if you do these things. When everything is ready, all that’s left to do is get the most recent GPU drivers. These drivers will make sure that your GPU works at its best, and some drivers and changes can even add useful features.
Suggested:
How To Increase CPU Speed In Windows PC?
5 Best Emulators to Play iOS Games on PC and ios device.
I am John Williams, a professional content writer about lifestyle and relationships.


 Fortifying Your Business Frontier: Essential Networking Security Strategies