Robin Khokhar
Robin Khokhar is an SEO specialist who mostly writes on SEO. Thus sharing tips and tricks related to SEO, WordPress, blogging, and digital marketing, and related topics.

Linux is a powerful, safe, and adaptable operating system widely used by developers, IT experts, and common users seeking greater control over...
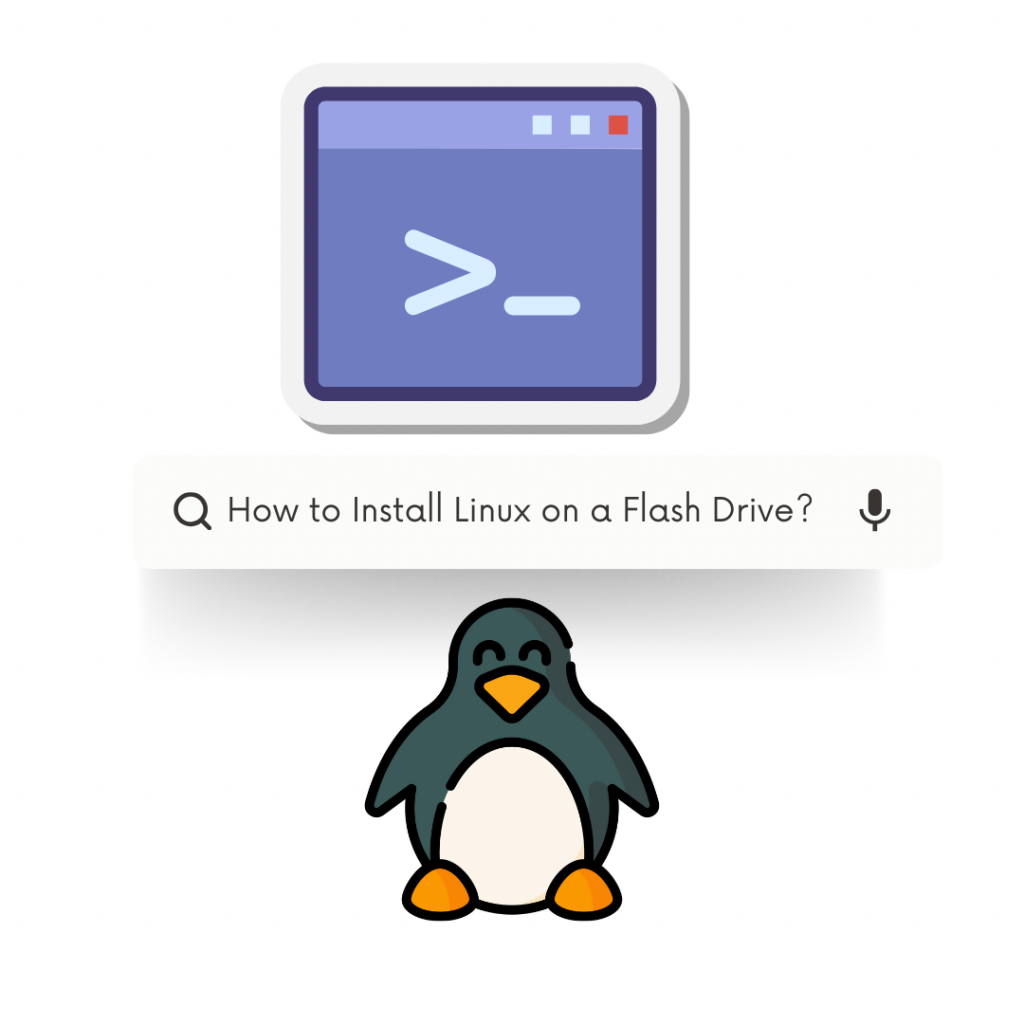
Image Credits: canva
Reply

Linux is a powerful, safe, and adaptable operating system widely used by developers, IT experts, and common users seeking greater control over their systems. However, before you can enjoy its benefits, you must install it on your computer.
Fortunately, installing Linux is easier than ever. Modern Linux distributions have straightforward, user-friendly installers that walk you through the process step by step. However, before you begin the installation process, you must first create a bootable USB device.
A bootable USB stick enables you to install Linux on your computer or operate it as a live environment without causing any permanent changes to your system. What is the best part? Creating one is easy, and you do not need to be a tech expert to do it.
This guide will walk you through the entire procedure of how to install Linux on a flash drive, allowing you to effortlessly generate a bootable USB and install Linux on your PC.
Before we begin the process, make sure you have the following:
A computer with a USB port – This is the system where you will make the bootable drive.
A USB flash drive (at least 16GB) – A larger USB drive (32GB or more) is much preferable, especially if you want to use it as a portable Linux system.
A Linux ISO file – This is the installation file for the Linux distribution that you want to install. Popular choices include:
A tool to create the bootable USB – There are multiple tools available for this, but some of the most reliable ones are:
For this article, we’ll use UNetbootin, which is compatible with Linux, Windows, and MacOS.
If you are using Windows or macOS, follow these steps:
If you’re using Linux (Ubuntu-based systems), open a terminal and type these commands:
sudo add-apt-repository ppa:gezakovacs/ppa
sudo apt-get update
sudo apt-get install unetbootin -y
This will install UNetbootin on your PC, allowing you to generate a bootable USB.
Now that UNetbootin is installed, plug your USB flash drive into your computer.
Backup your data: Everything on the USB drive will be wiped during this operation.
Check the USB drive name. On Linux, use the command lsblk to list all connected devices.
Tip: To avoid picking the incorrect drive, remove all other external storage devices before proceeding.
Time required: It usually takes 5 to 15 minutes, depending on your system and USB speed.
If UNetbootin looks to get stuck at “Extracting and Copying Files,” do not panic; it will ultimately finish.
Once the process is complete:
Now that your bootable USB is ready, you can learn how to install Linux on a flash drive and enjoy your new system!
That’s it! You now have Linux running on your machine.
Tools such as UNetbootin, Rufus, and Etcher make it easier than ever to create a bootable Linux USB drive. Whether you want to install Linux as your primary operating system or learn how to install Linux on a flash drive for live testing, this method provides a simple and fast solution.
Suggested:
How Can You Use USB Flash Drives in a Non-Standard Way?
Robin Khokhar is an SEO specialist who mostly writes on SEO. Thus sharing tips and tricks related to SEO, WordPress, blogging, and digital marketing, and related topics.