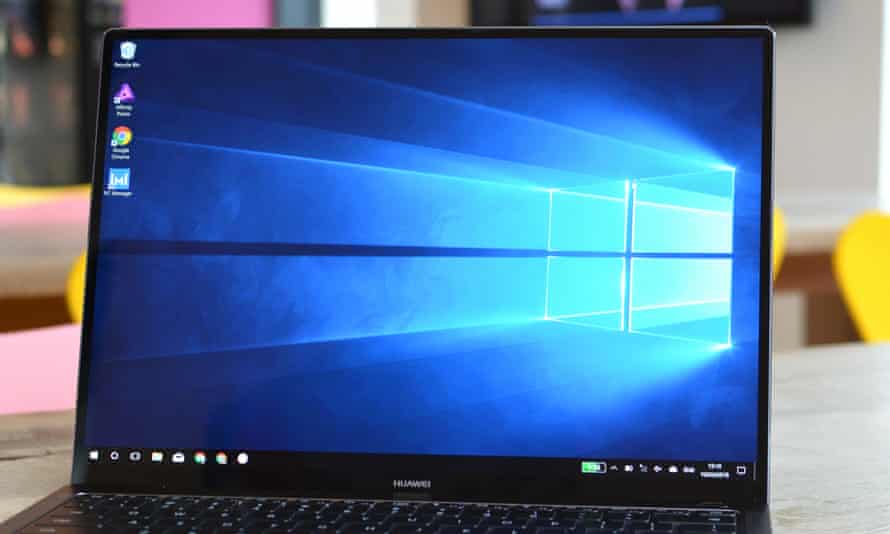
Screenshots, also known as screenies or snapshots, refer to the images of the screen you capture to communicate something very well to...

Screenshots, also known as screenies or snapshots, refer to the images of the screen you capture to communicate something very well to someone when you’re short of words. When you have to capture a screenshot of your computer screen, you can use the best of methods offered by Windows OS itself. Whether you want to capture the whole Window or a part of it, we have listed down the best and the most used techniques for taking Windows 10 screenshots.
While we have listed down the best methods to capture screens on Windows 10, we have a bonus tip for all the Windows users out there. Excited? Well, check out the blog further to know this wonderful utility that will not only help you capture screens but will also help you capture scrolling screens. Yes, we are talking about none other than TweakShot Screen Capture. So, before heading to the built-in utilities, we’ll be learning more about TweakShot and the benefits of having this installed on our Windows.
While there are several built-in utilities for Windows users to capture screenshots of the web page or anything that’s displayed on the screen, TweakShot helps you capture the entire screen or a part of the screen or capture the scrolling window. Amazing, isn’t it? Well, if you do not mind spending some amount, you can blindly rely on the TweakShot Screen Capture utility for Windows users. It is undoubtedly a top-notch tool that makes it easier to capture screenshots quickly and along with this, its additional features are worth a try. To learn how to use this software, follow these instructions below:

TweakShot Screen Capture: Features
Other than these, you get a plethora of editing options such as cropping, rectangle tool, line tool, and a lot more. Once you have made the required changes and edits, click on the Save icon at the top to save the screenshot on your device.
One of the oldest Windows utilities that have been used for ages. It is a built-in application specifically designed to capture screenshots on Windows 10. With this utility, you can take a screenshot of your entire screen, capture a particular reason or a specific part of a window or a dialog box. Not only this, but you can also capture a free-form shape on your screen. To use this tool, all you have to do is search for a Snipping Tool using the search box. Select the topmost result that appears, and you’ll see a thin timeline of the snipping tool menu. Now click on the New option and press and drag the cursor using your mouse to capture screenshots. That’s it. Once done, ensure that you save the screenshot for further use. You can read is a complete review on top10pcsoftware.
This is yet another Windows built-in utility that allows you to capture any part of the screen, be it a dialog box or a context menu. All you have to do is press Windows + Shift + S keys together. It will freeze your screen as it is and you can use your mouse to capture a screenshot of whatever you like to. It will freeze the screen to the last action you have performed and then you can capture the region you want to.
Another way to capture a screenshot on Windows 10 is using Print Screen. It is a key on the keyboard. All you have to do is choose the window you wish to capture and hit the Print Screen button to take a screenshot and save it as a file. The Print Screen button can be found between the F12 key and the Scroll Lock button. When you hit the Print Screen button, you’ll feel like nothing has happened but the screenshot will immediately be copied to the clipboard and you can directly paste it either in Paint or Word and save the file for later use.
Last but not least, Game Bar is yet another Windows 10 utility that lets you capture a screenshot of your computer screen. Do you know how to use a game bar on Windows? For this, press Windows + G keys together. It will bring up several options for your use and is meant to be used exclusively for Windows 10 gamers. This Game Bar can be used to capture screenshots, record gameplay, broadcast video games, and a lot more.
So, these were some of the best ways to capture screenshots on Windows. Out of all the five ways listed above, we recommend using the TweakShot Screen Capture utility on windows to gain access to all its available features along with a few ones for editing. However, there are a plethora of options to take screenshots on Windows. You can try any of these and use the saved screenshots later on for further communications. We hope you find us helpful. Do let us know your feedback or suggestions in the comments section below.
Suggested:
How to Record Screen and Take Screenshots using windows 10?
Great post! I am actually getting ready to across this information, is very helpful my friend.